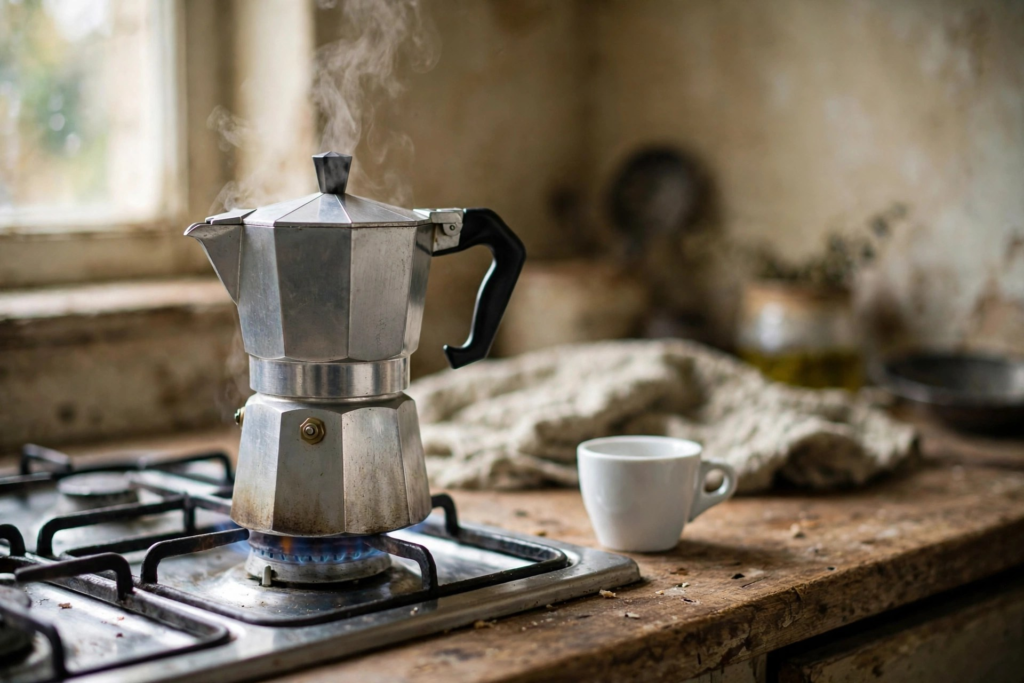
If you’ve already learned the basic moka pot routine — hot water to the valve, medium-fine grounds, off the heat at the first gurgle — then you know it can make a decent cup. But a moka pot is capable of more than decent, and the difference between a passable brew and a genuinely delicious one comes down to details nobody talks about: when the bitterness actually enters the cup, why the last third of the brew tastes like punishment, and what the old hands in Naples do that the instruction manual never mentions. This is the second-level course.
New to the moka pot entirely? Start with our step-by-step brewing guide, then come back — everything here builds on it.
The Bitterness Problem Is Physics, Not Beans
Almost everyone who dislikes moka pot coffee describes the same thing: it’s bitter. Harsh, ashy, with a burnt edge that cheap espresso machines are accused of and good ones avoid. The instinct is to blame the beans or the pot. Usually, neither is the problem — it’s the last ten seconds of the brew.
Here’s what’s happening inside the pot. As the water in the bottom chamber heats, steam pressure pushes it up through the grounds. That’s the good part. But once the chamber is nearly empty, what’s pushing through the coffee bed is no longer water — it’s steam, superheated and violent, tearing through already-extracted grounds. That steam phase strips out the bitter, astringent compounds and blasts them straight into your cup. The coffee that brewed first — dark, rich, honey-smooth — gets mixed with the scorched tail end, and the whole thing tastes like regret.
This is the single most important thing to understand about stovetop espresso: the brew is not one continuous stream of goodness. It has a beginning worth keeping and an ending worth cutting short. Everything below flows from that.
Refinement One: Stop Earlier Than You Think
The instruction every moka pot guide gives — “take it off when it gurgles” — is right, but most people interpret the gurgle as a finish line and miss that the stream itself was telling them to stop earlier. Watch the flow with the lid up. It starts dark and thick, almost syrupy. Then it thins and lightens toward a honey-gold color. The moment it turns pale and bubbly, that’s your cutoff. Don’t wait for the dramatic sputtering; the pale stream is already the bitter phase arriving.
Then do what the tail is begging you not to: cool the base. Run the bottom chamber under cold water for a few seconds the instant you pull it off the heat. This halts extraction dead instead of letting the residual heat keep steaming coffee into the upper chamber while you find an oven mitt. It’s a small, slightly awkward maneuver that makes a bigger difference than any bean upgrade.
Refinement Two: Stir the Cup, Split the Brew
Two habits from people who’ve been doing this for decades. First, stir the collected coffee in the upper chamber before pouring. The early part of the brew is heavy and concentrated; the later part is lighter, and they’re stratified in the pot — a quick swirl evens it out.
Second — the advanced move — split the brew if you care about sweetness. The first half out of the spout is noticeably sweeter and more aromatic than the second. Some Italian home brewers pour off the first portion for drinking straight and let the rest become the base for milk drinks, where milk papers over the bitter edge. Try it once and it recalibrates what you thought your moka pot could do.
The Paper Filter Trick for a Cleaner Cup
Moka pot coffee is naturally heavy-bodied, with a fine sediment that some people love and others find muddy. If you’re in the second camp, here’s a trick borrowed from the AeroPress world: place a round paper filter — an AeroPress filter fits the standard funnels nicely — on top of the coffee bed before screwing the pot together. It catches the fine particles and oils that the metal screen lets through, producing a noticeably cleaner, sweeter cup.
The trade-off is real, though: you lose some of that heavy, syrupy body that makes moka pot coffee feel substantial. Try it both ways. It costs nothing, and it settles the question for your palate personally. (Curious about the brewer that filter came from? Our AeroPress tutorial covers it in full.)
Grind, Dose, and the Case for the Scale
Medium-fine — about the texture of table salt — is the standard advice, and it’s fine advice. But here’s the nuance: consistency matters more than exactness. A blade grinder producing dust and boulders will give you a cup that’s simultaneously bitter and sour, because the dust over-extracts while the boulders under-extract. A burr grinder, even a hand one, fixes this more than any technique in this article.
And while the moka pot’s basket is designed to be filled full, weighing your dose teaches you something the basket can’t: how much coffee you’re actually brewing. A six-cup pot takes roughly 20–22 grams of coffee to about 250–270 ml of water. If your cup is consistently off, knowing the numbers lets you change one variable at a time instead of guessing. Going a touch coarser cures bitterness; a touch finer cures thinness. Change the grind, not the water — the water level is dictated by the valve, not your preferences.
Heat: Low, Slow, and Off the Big Burner
Moka pots reward gentle heat. Medium-low flame, on a burner that roughly matches the pot’s base — a small pot lost on a huge burner gets scorched sides and uneven heating, and a cheap diffuser ring fixes that.
Blasting a moka pot on high is how you get the metallic, burnt flavor that turned a generation off stovetop coffee. The whole brew should take four to five minutes from the moment it goes on the flame; patience is the technique.
Troubleshooting the Stubborn Pot
Bitter no matter what you do. You’re either grinding too fine, waiting too long, or brewing on too much heat. Fix all three at once, then adjust back — it’s faster than changing one thing per morning.
Sour and thin. Under-extracted. Grind finer, make sure the basket is genuinely full and level, and confirm your heat isn’t so low that the brew never properly gets going.
Metallic or chemical taste from a new pot. Completely normal. Aluminum moka pots need seasoning — brew and discard three to five batches before the first real cup. The coating of coffee oils that builds up is doing you a favor; this is also why you should never wash a moka pot with soap, which strips that seasoning and leaves a soapy ghost that takes batches to lift. Hot water rinse, air dry, done.
Leaking around the middle seam. The rubber gasket is worn or seated wrong. Unscrew the pot, reseat it, and if it still leaks, replace it — gaskets are a few dollars and should be swapped roughly once a year with regular use.
Coffee never rises, or barely sputters up. The grind is too fine and the steam can’t push through, or the filter plate is clogged with old grounds. Back the grind off and give the filter and funnel a thorough rinse.
What to Make With It: Three Stovetop Classics
Once the brew is right, the moka pot becomes a foundation for drinks that rival anything from a café’s cold menu.
Shakerato. The Italian answer to iced coffee: brew a strong moka pot, shake it hard in a cocktail shaker with ice and a spoonful of sugar or simple syrup until it froths, strain into a chilled glass. The shaking aerates it into something silky and dramatic — it’s the drink that makes people ask what kind of machine you own.
Moka affogato. Affogato is simply hot espresso poured over cold vanilla gelato, and stovetop coffee handles the job beautifully. The rule: the coffee must be fresh and hot, the gelato properly cold, and the ratio generous on both sides. Eat it immediately, with a spoon, standing in the kitchen — there is no other way.
Café con leche, the honest way. Scald milk (not boil — around 60–65°C, when it just starts to steam) and pour it over a strong moka brew at roughly one part coffee to two parts milk. No foam art required. This is how most of Spain and Latin America drinks “latte,” and it needs nothing but a pot and a saucepan.
The moka pot has survived ninety years of kitchen technology — pump machines, pods, precision pour-over kettles — without changing its shape. It survived because the coffee, made right, is genuinely good: heavy, sweet, and unmistakably itself. The basics get you most of the way there. These refinements get you the rest.